Monday, May 11, 2015

Weather Box

This will be an ongoing post...
This is my first year teaching. I teach at Whitney Young High School in Chicago. We are located directly west of the Willis Tower (formerly Sears Tower). At the beginning of the year, I would get to work extremely early and had breathtaking views of the sunrise from the school's bridge over Jackson Avenue.


Fast forward a few months....
I can no longer get myself out of bed early enough to see the sunrise and I just attended this great workshop on raspberry pi's. Together this idea emerged: My advanced CS students are going to program a raspberry pi to take a timelapse of the sunrise every day for a week. Additionally they will collect temperature and humidity data and have all of this hosted on a website. If this reminds you of NASA's Astronomy Picture of The Day a few years back, good for you! I am loosely basing the project on this. I like the idea of the temperature and humidity data being mapped out along with the physical images of the sunrise.

Anyway, back to the project. I have two groups of students working on this. The roles are split up as so:
1. One person will design a housing for the Raspberry Pi in Google Sketchup and 3d print it on a Makerbot Replicator. The purpose of the box is threefold. First it has to keep out rain so we will likely seal it with polyurethane or cover the roof in plastic wrap. The walls should let some air through otherwise the temperature and humidity data wouldn't be accurate. Second, it must hold the camera in the same position throughout the week, above the small lip on the edge of the roof.
2. A second person will be in charge of programming the time lapse. It should begin every day at a certain time and end at a certain time. I had toyed with the idea of using a photo resistor to trigger the time lapse, but that might be too complicated and I like the idea of them seeing the sun rising earlier and earlier each day.
3. A third person will be in charge of the temperature and humidity sensing program. The data will be collected every minute and stored in a google spreadsheet. This data collection will be ongoing, not limited to sunrise.
4. A fourth person will create a website to display all of this information. I would like the sunrise timelapse to show as the sun is rising, then when it shuts off, be processed into a video and uploaded to youtube. This might require another person... The youtube video will be embedded on the website along with a real time graph of the temperature and humidity data.

Here are the materials we are using:
1. Raspberry Pi
2. Raspberry Pi Camera
3. Temperature and Humidity Sensor - I had considered getting something more outdoor-friendly, but I couldn't find anything. Recommendations anyone?

I'll let you all know how it goes! Gotta go talk to the engineers about getting on the roof.
Bye!

Tuesday, May 5, 2015

Basket Weaving

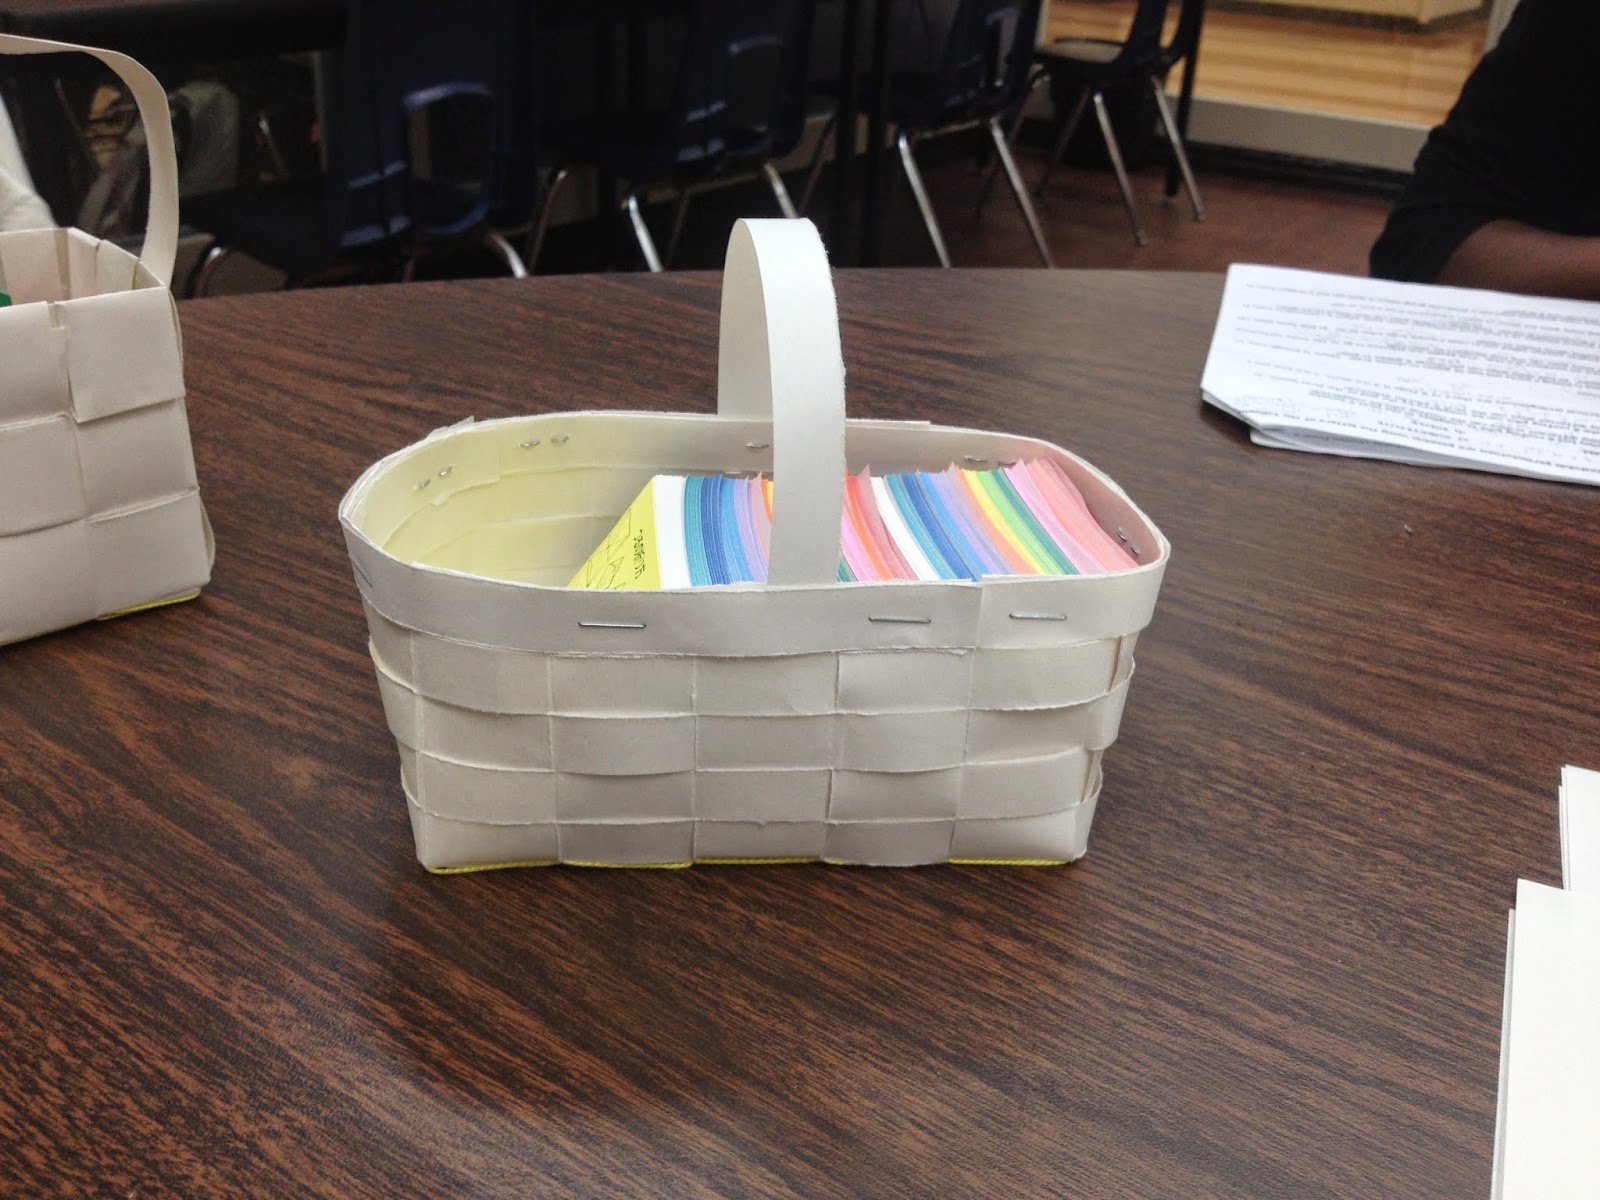
This is a project from last summer - I wove a picnic basket for my brother and his wife for their wedding. The lining is custom printed fabric with a picture of their two dogs. It is also hand quilted with a heavy canvas on the other side for durability. The handles are custom bent to size (since my basket was not a standard size, surprise surprise).
Original Sketch

Paper trial
After watching a few videos on how to do a box weave I dove right in! Got all supplies from amazon. I had difficulty keeping the sides straight. I definitely didn't have the tension 100% right. It all turned out well in the end though.
Starting to weave
I found some pictures of my brother's dogs and used it to design fabric on Spoonflower.
Spoonflower design site
It finally came! I was so excited to quilt that I didn't take a picture of it in the box, but here it is all quilted.
Custom printed fabric post quilting
I quilted the fabric backed with canvas for durability. The fabric from Spoonflower was fairly thin.
Finished project without handles

Inside without handles


Frisbee for scale


Doggy for scale
Steam box for bending the wood

I wouldn't recommend bending wood using a PVC steam box. The PVC started bending as it heated up. We had to turn it periodically to keep it straight.

Bending the handles
And the finished product:


First Post - Etched Wine Glasses

I recently got a Silhouette Studio paper cutter and one of the coolest things I have experimented with so far is etching glass. I have made a few custom beer steins, but since my family is celebrating two birthdays this weekend I thought I would make some commemorative wine glasses!
The design here represents the year (2015), my sister's age (30) and my mom's age (60). Our family is Irish so I added some celtic knot pictures I found on the internet. Here is a photo of the final design on the Silhouette Studio software:
I used the trace function to get the knots, and subtraction to interlace the numerals.

Here is what the sticker looked like after cutting and removing the important pieces.

I had anticipated this problem... Flat stickers do not like to behave on round surfaces. It is important when you are etching (or painting, or stenciling at all) that your stencil adheres cleanly to the glass, no bubbles or folds. Can't really avoid that on a sphere though! I managed to figure out a good application (after 3 or 4 tries). The key is to get the inevitable folds not to intersect the negative space that you will be etching.

Additionally, I wanted to decorate the base of the glass. The rose curve on there has 5 loops so this glass is for my sister, the 5th oldest in the family (including mom and dad).

I managed to make 5 last night, though I will probably have to redo a few. 9 more to go!