I have been assistant coaching the math team at my school for the past year and a half and found out that our team has an unofficial mascot: Metoo!
Metoo is a Malasian toy line that has everything from plush toys to pencil cases and backpacks!
Anyways, I set out on an interesting mission. I wanted to make a jello cake in the shape of metoo. I did try to redesign metoo on sketchup, but it wasn't looking right. I could probably do it in tinkercad now that I have more experience, but whatever. I decided that in order to look exactly right, I would have to 3d scan metoo.
Makerbot Digitizer:
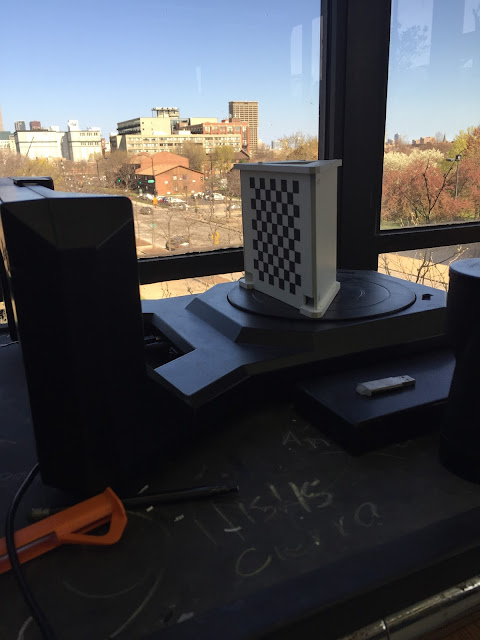
A colleague of mine in the science department at my school has a makerbot digitizer. He has never successfully used it and I am pretty sure I know why. The makerbot digitizer is an optical 3d scanner that relies on offset lasers and an optical camera to create the 3d image of your object. This means that the scanner is highly sensitive to light. The scanner should be operated in a well lit environment with NO CHANGES to the lighting. Here was my first attempt at scanning:
 |
| Beautiful view, not good for scanning |
 |
| This turned out horribly |
Kinect:
I coach the robotics team at my school and we somehow managed to get at X-Box Kinect as a donation. I found it down in our robot room and brought it up to the computer lab. The scans on skanect were awesome! However, the premium version of the software is both necessary to edit/export and extremely expensive. I looked at a few other pieces of software but ended up abandoning this path as well.
With no other way forward, I went back to the makerbot digitizer. I came in before school, scanned the image with minimal changes in light and it came out ok. The metoo was slightly deformed, but ok.
 |
| The deformed metoo scan |
After finally getting a scan I could use, I printed it! I fixed up the strange bits with some tape so at least the mold would turn out well.
I got some food grade silicone for molding. I had to kneed it for a few minutes to mix the two putties. Then I pressed it around the rabbit. I was a little worried that the silicone wouldn't hold its form, but that stuff was STRONG!
 |
| Waiting for the silicone to harden |
 |
| With the bunny model removed |
When I removed the rabbit I nearly broke off the ears! also, there were some holes in the bottom, but that didn't turn out to be a huge issue.
Now for the final step! White Chocolate Bunny Time!
 |
| Melting the chocolate |
 |
| greasing up the mold |
 |
| Pouring the molten deliciousness |
 |
| Waiting for the chocolate to cool |
 |
| All done! |
I have definitely learned a lot from this experience. If I did it again, I wouldn't push the silicone so high up the sides of the model. It made getting the chocolate out very difficult.
Hope you enjoyed!

No comments:
Post a Comment